How to Write A Blog Post
- By Ann K.
- •
- 01 Aug, 2018
- •
It's Easy and Fun To Blog on Your New Website!

Here are the step by step directions to get blogging fast.
1) Log in your website at: https://login.prowebsite.team
2) Once logged in click on the blog icon on the left side of your editor. It looks like this:

3) To create a new post clock the "New Post" button that looks like the image below. If you want to edit or manage an old post you can click "Manage Posts"


4) The system will create a new blog post for you with placeholder content. It will look like the image below. Go ahead and customize the content yourself -- typing in your post title, subtitle and selecting your image as shown below. To edit the title or subtitle just click on it and replace that text with yours!
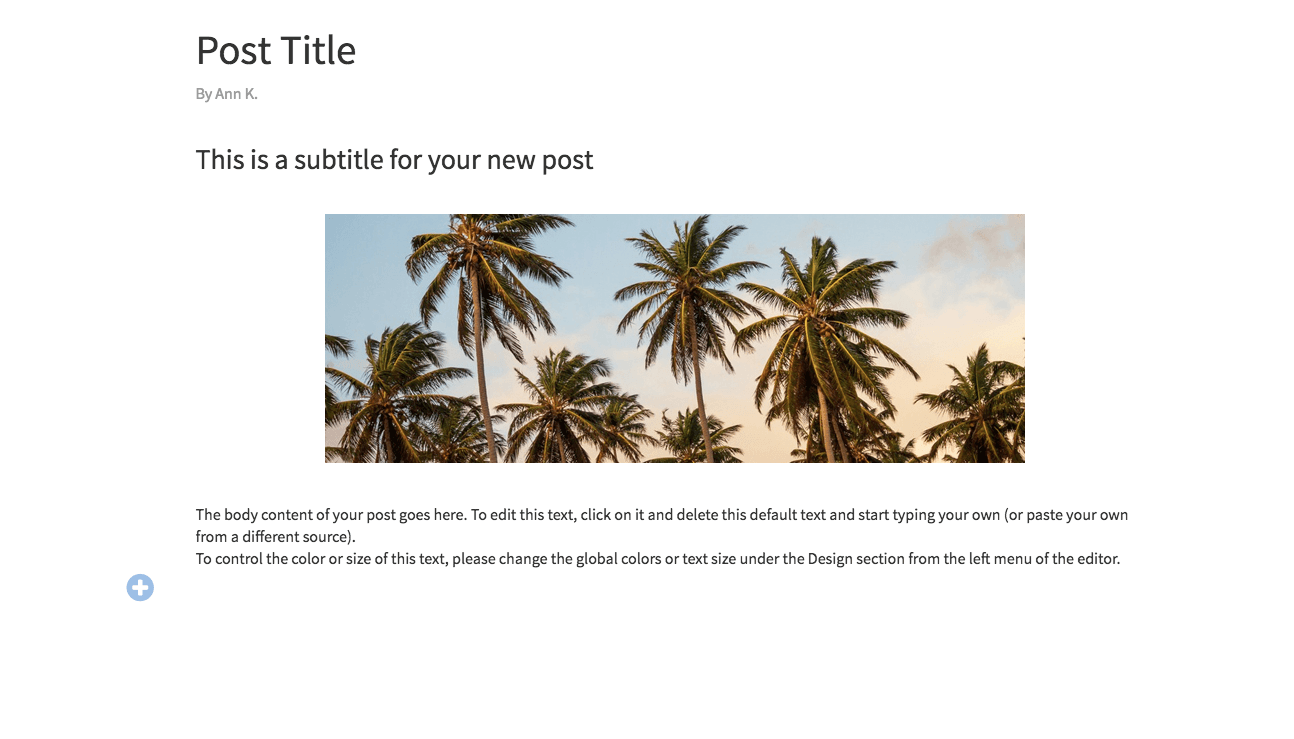

Don't forget to click the green checkmark on the right of the text editor to submit your changes

4) You can now replace the placeholder photo with one you like. Just mouse over the photo and click on the blue photo icon on the left to select or upload a new image.

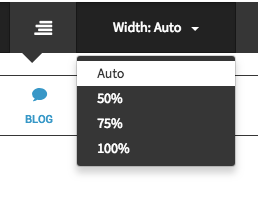
By clicking on an image you can also determine the width of the image.
5) Now it's time to get blogging! Click on the placeholder text area and place your text in the text area as shown below.

6) Need to add a video, more photos or more text? No problem! You'll see a small blue + icon. Click this to add more elements to your blog including: text, photo, subtitle, video, a divider line, or custom HTML (for advanced users only). Click on any icon to add that element.


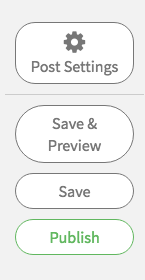
7) Now that your blog is ready you can save and preview, save, or publish with the options on the left of your blog screen
8) Now you can click the "x" in the upper left to leave this page and next we'll adjust the blog settings.

9) Click on "Manage Posts" to see your recent post and adjust post settings

10) You'll see your post listed in your blogs as shown below:

11) Click the gear icon (as shown below) to the right of the blog post. You can mouse over each icon to see what the do.

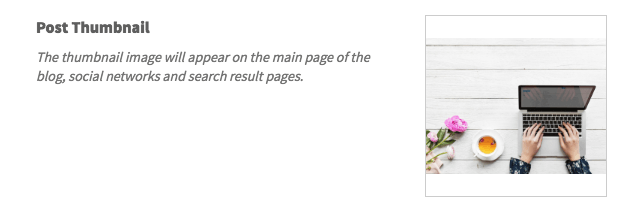
12) Add a post thumbnail by clicking in the empty photo area with the + sign and add your main blog photo.
13) Type in a brief post description

14) Add some brief one-word tags that describe what your blog is about

15) The blog will default to your name but you can edit that:

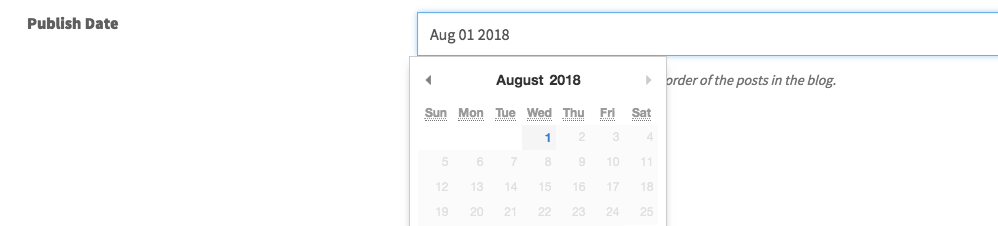
16) You can even choose a future publication date for your blog.
17) Don't forget to save your blog settings
18) Hit the "X" in the upper left and republish. Have fun blogging!

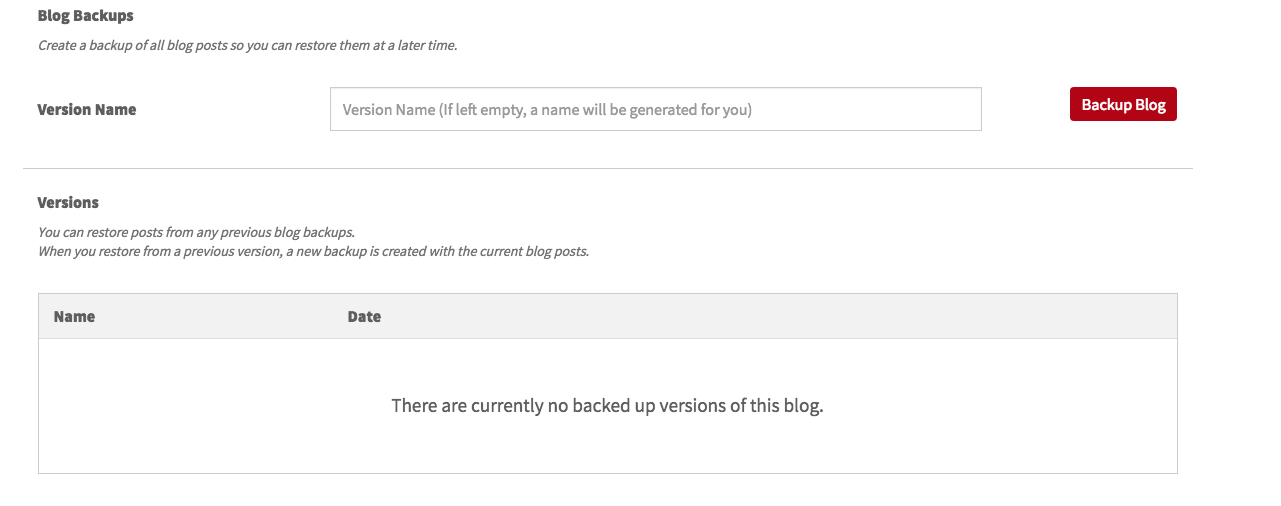
FYI: It's also a great idea to back up your blog from time to time. To do so click on "Blog Settings" in the blog menu and follow the directions at the bottom of the blog settings area to back up.